In the dental and medical fields, pouch sealers (often referred to as medical heat sealers or sterilization packaging sealers) are essential devices used to create an airtight, sterile barrier for instruments before they undergo autoclaving.
Below is a breakdown of their description, key features, and clinical usage.
Description
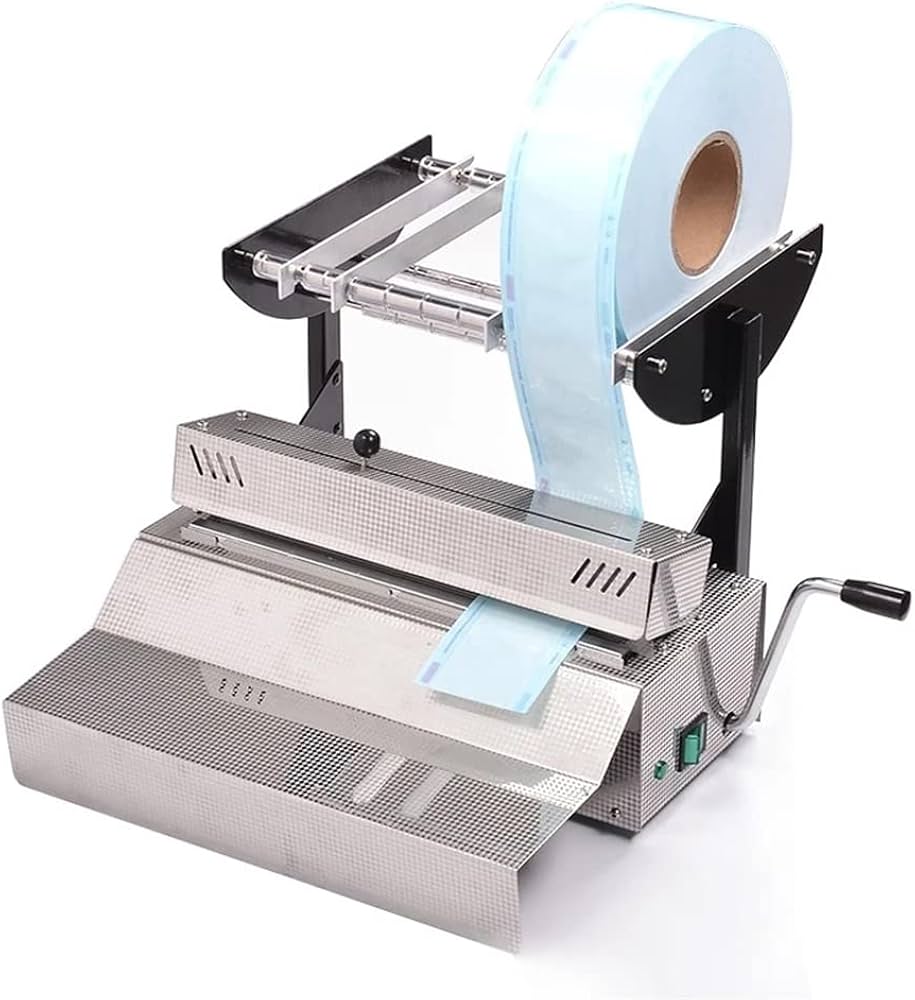
A pouch sealer is a thermal device designed to seal sterilization pouches (made of a combination of paper and plastic film). By applying controlled heat and pressure to the open end of the pouch, the machine melts the internal plastic layer to the paper backing, creating a hermetic seal. This ensures that once the instruments are sterilized inside an autoclave, they remain sterile until the package is opened for use.
Key Features
- Constant or Impulse Heat: * Impulse Sealers: Heat up only when the sealing bar is pressed down (energy-efficient).
- Rotary/Constant Sealers: Maintain a set temperature for high-volume, continuous sealing.
- Adjustable Temperature Control: Allows the operator to calibrate the heat based on the thickness and material of the pouch (e.g., standard steam pouches vs. Tyvek for plasma sterilization).
- Built-in Cutting Blade: Most dental sealers include a sliding blade to cut sterilization rolls to a custom length, reducing material waste.
- Seal Width: Professional medical sealers typically provide a seal width of 10mm to 12mm, which meets international safety standards (such as EN 868-5).
- Acoustic/Visual Signals: Many modern units beep or flash a light to indicate when the seal is complete, preventing under-sealing or overheating.
Usage and Workflow
To maintain a sterile chain, the following protocol is typically followed:
- Preparation: Place cleaned and dried instruments into a sterilization pouch or a length of sterilization roll. Ensure there is at least 3cm of space between the instrument and the seal area to prevent pouch rupture during the vacuum cycle of the autoclave.
- Alignment: Place the open end of the pouch on the sealing platform, ensuring the plastic side is facing the heating element (or as per manufacturer instructions).
- Sealing: * Lower the handle or press the “Seal” button.
- Wait for the signal (beep or light) indicating the thermal bond is formed.
- Inspection: Visually check the seal. It should be a continuous, solid line without wrinkles, bubbles, or gaps.
- Labeling: Use a specialized sterilization marker on the plastic side (or the designated area) to note the date, contents, and operator. Never write on the paper side, as ink can migrate and compromise sterility.
- Sterilization: Place the sealed pouch into the autoclave for the sterilization cycle.
Comparison of Sealer Types
| Feature | Manual Impulse Sealer | Rotary Sealer |
| Volume | Low to Medium (Private Practice) | High (Hospitals/Large Clinics) |
| Speed | Manual (one by one) | Automatic (continuous feed) |
| Consistency | Operator dependent | Highly automated/Standardized |
| Footprint | Compact | Larger, desktop units |